Wednesday, September 24, 2014

Dishwasher Detergent (and a Rinse Aid)

There's not much to say as an introduction to this one. It's dishwasher detergent. Just about everyone uses it, and it's cheap and easy to make your own.

What You Need:


  • 1 cup of Borax
  • 1 cup of washing soda
  • 2 packets of unsweetened lemon or orange drink mix (aka Kool-Aid)*
  • 1/4 cup of coarse salt (Kosher salt or blended ice cream salt)
  • 10 drops of lemon or orange essential oil

*:Unsweetened lemon(ade) and orange drink packets are basically 99% citric acid, which is the necessary ingredient here. You could also just use about a tablespoon of actual citric acid powder instead, but drink mixes tend to be much cheaper and easier to get.

Step 1:

Mix all of the dry ingredients together.

Step 2:

Add the essential oil. Mix with a fork, breaking up any clumps that form, until the oil has been thoroughly incorporated into the powder.

Step 3:

Add about 1 1/2 tablespoons of the mix to your dishwasher for a standard load, adding or subtracting 1/2 tablespoon for smaller or heavier loads. Store in a resealable plastic container.

The Borax and washing soda are the primary ingredients that act as a detergent, while the drink mix helps dissolve mineral build-ups in the dishwasher and the coarse salt acts as a water softener. The citrus oil provides some disinfecting qualities, and couples with the drink mix to give a fresh citrus scent.


Rinse Aid

While the above recipe works great for cleaning, it can leave some water spots on dishes (as most powdered mixes tend to). So it's best to also use a rinse aid in conjunction with the detergent. Store-bought solutions are fine, but much pricier than the DIY solution.

What You Need:


  • 1 cup Hydrogen Peroxide (a 32 oz. bottle is usually less than $1)
  • 10 drops lemon essential oil


Step 1:

Add the ingredients together in a glass cup or dish and mix well.

Step 2:

Fill the rinsing aid compartment in your dishwasher with the mix* and run your dishwasher normally.

*: If you have leftover mix, you can use it to clean your kitchen sink. Plug your sink and fill about 1" deep with hot soapy water. Add the leftover rinse aid and let sit for about 10 minutes. Drain and wipe down the sink with a sponge or washcloth.

Note: Vinegar is often suggested as a cheap substitute for retail dishwasher rinse aids. While vinegar does indeed do a great job in the dishwasher, with repeated use it can deteriorate some of the rubber seals inside of the dishwasher's rinse aid compartment. The hydrogen peroxide mix does not harm any of the dishwasher's components.

Monday, September 8, 2014

German Pancake

While going through an old box of recipe cards at my parents' house, I stumbled upon a recipe for "German Pancakes". The handwriting belongs to neither of my parents, and it also didn't look like it matched up with my grandparents' handwriting (based on some of the cards I found that they had written). A quick glance at the recipe revealed a few things: it was super simple, had inexact measurements, and only made one large pancake. Based on the recipe, I inferred what I later confirmed: this was a hangover pancake.

What You Need:


  • 1 egg, beaten
  • 1/3 cup of flour, well rounded*
  • Pinch of salt
  • Pinch of baking powder
  • "About" 2/3 cup of milk**


*Just use a 1/3 cup measuring cup to scoop some flour. However much you end up with, that's how much you use.
**I don't remember how I came to realize this, but I'm fairly certain that this measurement is meant to be 2/3 of a coffee cup.

Step 1:

"Beat ingredients together until a thick creamy consistency. Do not overbeat!"

I'm quoting the recipe card here, but if you beat it until it's creamy, that's pretty much overbeating as far as pancake batter goes. I've made this a couple of times now, and the best result came from beating the ingredients until they were well mixed, but the batter was still slightly lumpy.


Step 2:

"Cook in a greased frying pan."

I used a small pan over medium-low heat. The batter is pretty runny, so you want to make sure to be careful when flipping it.
Pictured: 10 seconds prior to a huge mess.

The end result is a large, heavy, dense pancake that does indeed invoke feelings of Germany in the early 20th century; this is a pancake you fight your way through so that the world will be a better place afterwards. It doesn't taste bad or anything, just really, really heavy. I was sober when I ate it, but even after the first bite I knew that it would be perfect for soaking up the lingering mistakes of the night before.
I named it "The Panzer".


Thursday, September 4, 2014

Silky Moon Dust

As father to a young boy, I try to find things to make that a young boy might enjoy. That's how I came to successfully make fart slime and fail miserably at making silly putty. It was this impulse that led me to Silky Moon Dust, which was the title of the recipe I used and thus is what I'm sticking with. Silky Moon Dust is is a really fine, really soft powder mixture that can be molded.
I call this shape "fisted"

What You Need:


  • 2 1/4 cups All-purpose flour
  • 5 tablespoons Mineral or Baby oil


Step 1

Mix them together. That's pretty much it. You can add a little more or less of either ingredient to get a consistency that mirrors what the surface of the moon looks like, I guess?
Sure, why not.

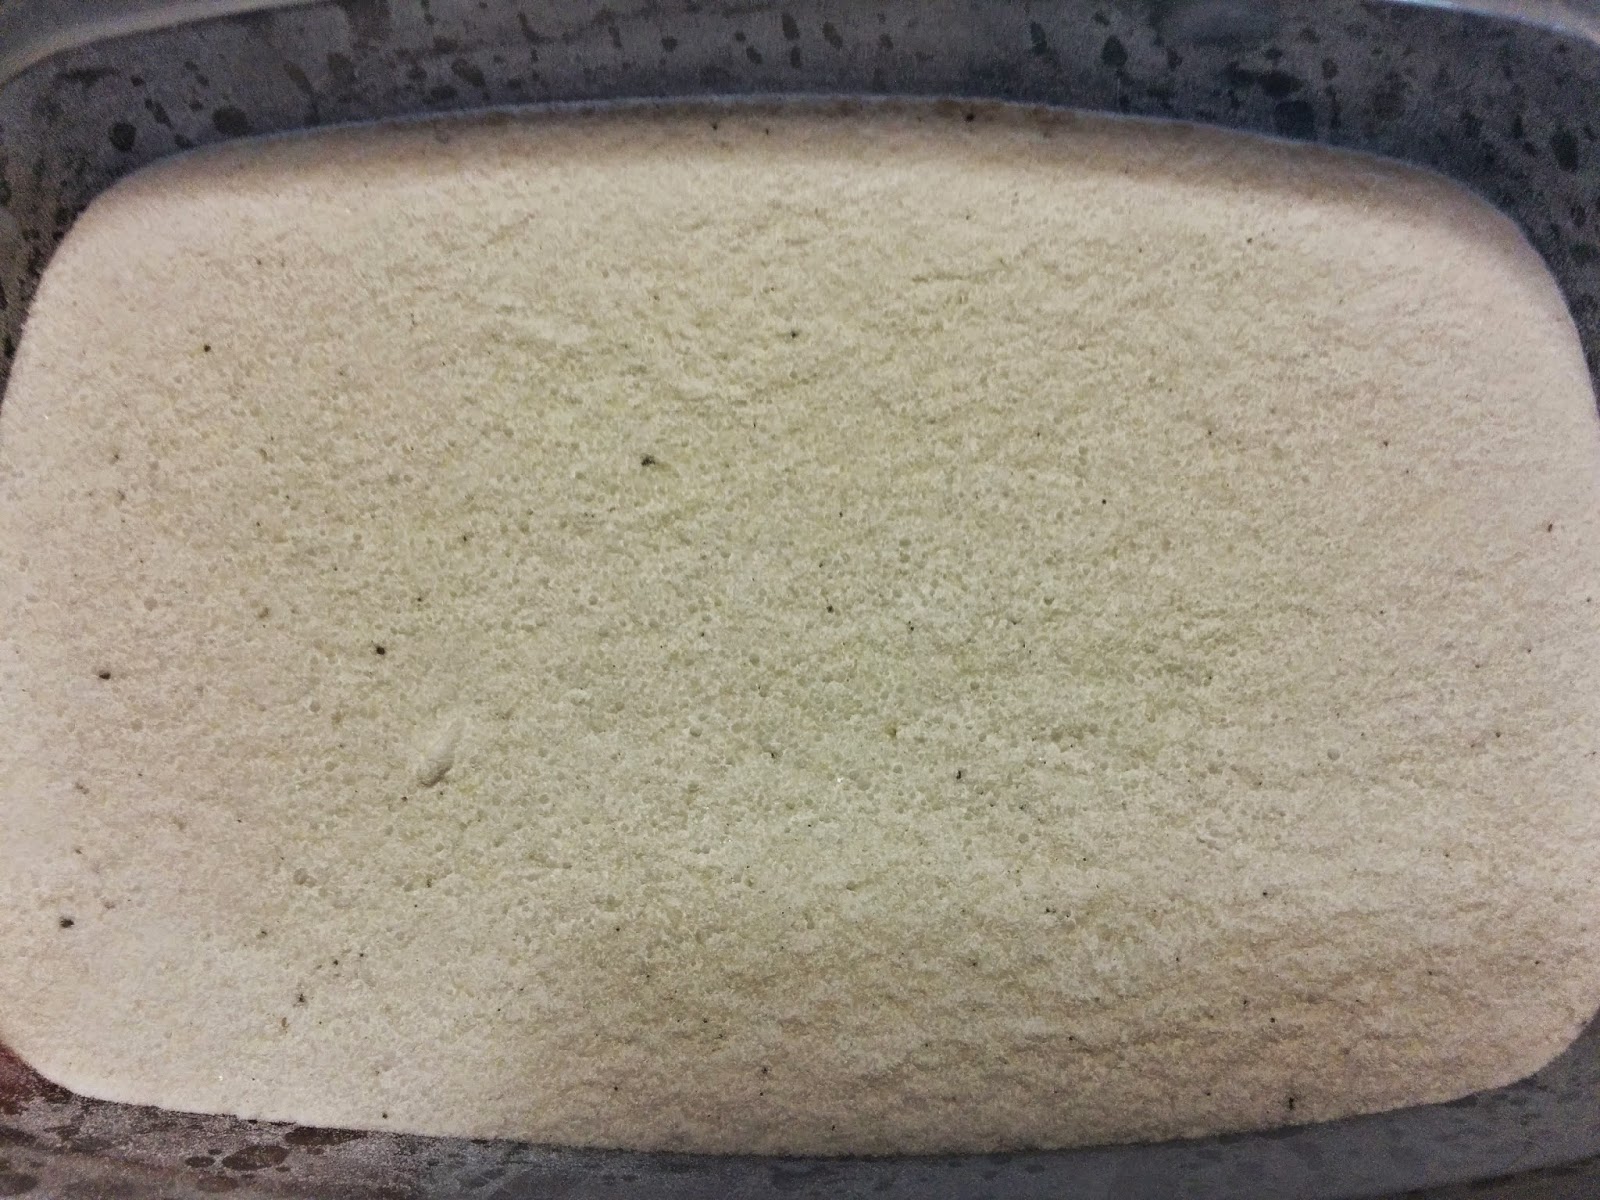
The result really is super soft and silky feeling, without being very oily. When molded, the shapes hold together fairly well, though they break apart with not much pressure. It is super messy. I made this stuff for my son and then immediately decided he couldn't have it, lest I end up having to vacuum nonstop. So this probably works best as something for a child to play with outside. Since it's just flour and oil, it's not toxic unless ingested in a quantity large enough that if you ever left your small child alone long enough to ingest that amount you really weren't a good parent to begin with and this is your comeuppance. It can be stored in any container capable of containing powder and oil.
Like this one, or literally any other container without holes in it.
Variation: I've seen an alternate recipe that calls for 4 parts cornstarch to 1 part vegetable oil to achieve the same effect, but have no personally tried it yet.

Wednesday, September 3, 2014

Silly Putty and Starch: A Legacy of Failure

The Quest


I have now thrice tried and failed to make homemade silly putty. According to an ancient gypsy legend, homemade silly putty can be formed using equal parts liquid starch and all-purpose glue. Seems simple, right?

The first of my problems, and really the core of my failure, is that "liquid starch" is, at best, a loose term. There's any number of online recipes for making liquid starch, all with wildly varying ratios of water and cornstarch. There is concentrated liquid starch that is sold in some stores (Sta-Flo being the prominent brand), though none of the ones I looked in (I later found it, but far too late to be of any use). And most stores that carry laundry starch only have it available in aerosol cans.

Having failed (at the time) to find liquid starch at the store, I opted to go the homemade route. The first recipe I tried was for a more concentrated starch, requiring about a cup of water to a teaspoon or two of cornstarch (I'm too lazy to go find the recipe again and give the exact amounts). I followed the directions, but the end result seemed off. It looked like cloudy water with a bunch of clear snot tendrils floating in it (fortunately for you, I forgot to take pictures). I still mixed it with the glue, and the result was a thick, opaque white fluid that resembled house paint. Not exactly the malleable putty I was hoping for.

My second attempt was with a less concentrated starch, the recipe calling for 4 cups of water and a tablespoon or two of cornstarch. This one actually turned out mostly clear, though very slightly thicker than water. It still seemed way too thin to me, but I was hoping the chemical reaction between the starch and the glue would turn out successfully. Nope. I pretty much just ended up with a cup of diluted glue.

For my third attempt I just said "F--k it" and started mixing stuff together, in whatever proportions I felt like.
I hate you both.

Though for this attempt, I decided to enlist the help of a friend.
Let's do this.

I started by grabbing a spoon and scooping an arbitrary amount of cornstarch into a glass measuring cup. I then added water until I felt like stopping. I mixed the two together until the cornstarch was dissolved. Then I microwaved the mix for 30 seconds, because why not?
My friend and I needed a moment alone together anyway.

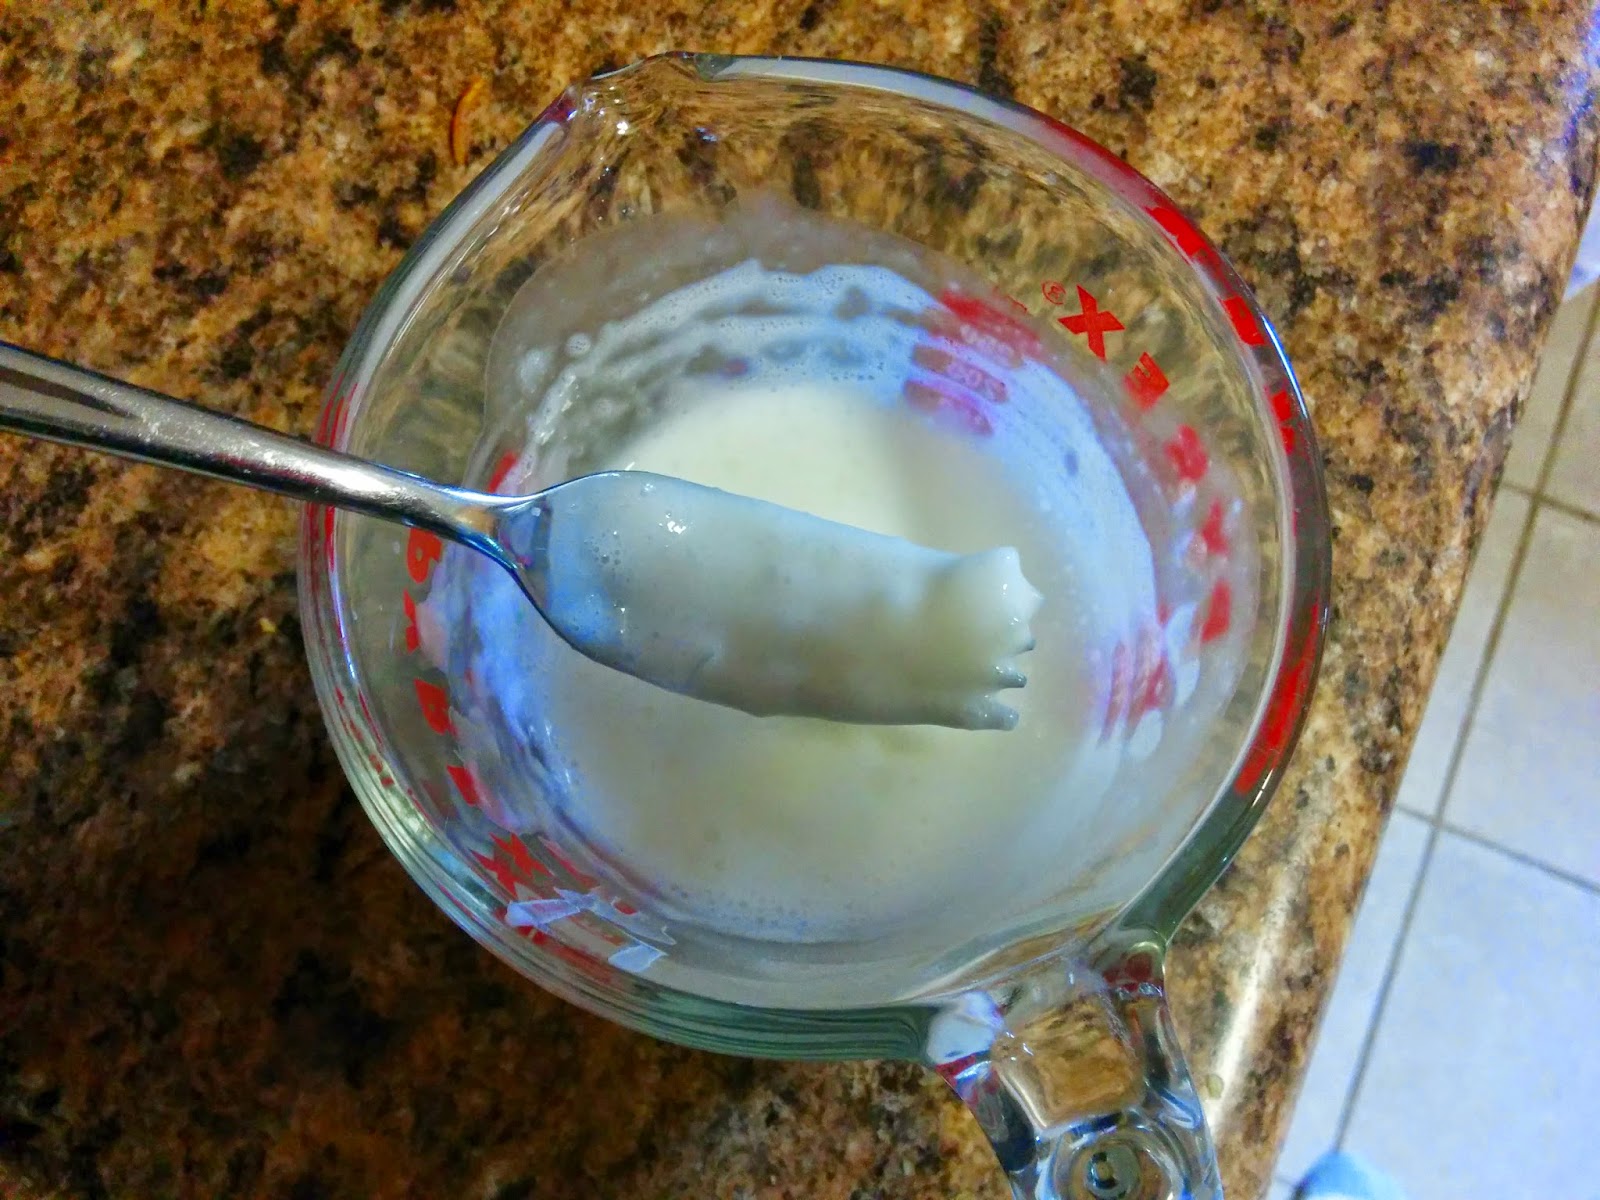
The result was a gelatinous mixture that looked like what you'd get if human sweat could congeal.
I took pictures this time. Aren't you glad?

I mixed it with the glue anyway, because it's not like I had high hopes for any of this. The result was...how should I put this...not unlike a certain male bodily fluid which I shall leave unnamed.
NSFW.

Now I was out of glue, so there was really no going beyond this point.
And my friend had left.

I decided to just move on to something else, and maybe try this whole homemade silly putty thing again sometime in the future.

Epilogue


In a later attempt at another bit of unrelated DIY home chemistry (which I will post in the future, assuming I ever get it right), I failed to make the intended result and ended up accidentally creating silly putty in the process.
I've got you now, you elusive jerk.

The chemical mixture was different and it didn't bounce worth a damn, but it was malleable, not sticky, and could pick up newsprint.
Or at least an image from a 20 year old comic book, since I had no newsprint.

Pretty sure that is actual irony.

Thursday, August 21, 2014

Basic DIY Ingredients to Have Handy

As I post DIY recipes and solutions on this blog, you'll notice a few recurring products which, while not uncommon, are not necessarily a staple in everybody's households. This post will highlight some of the more important ones, and make an argument for why you should consider having them around, even if you never use them for any of this DIY stuff.

Borax

Everyone should own Borax. A giant box of it is cheap, and a little of it goes a long way. Most commonly, it is used as a laundry additive, but it has dozens if not hundreds of uses beyond that. The entire back of the box and one of the sides is covered in uses for the product. It can remove water spots left by your dishwasher, clean your carpet, kill bugs, preserve flowers, kill odors, make crystal ornaments, unclog drains, kill weeds, and make farting slime. It doesn't cause cancer, is safe to touch, and doesn't harm the environment. It's sold in the same isle as laundry detergent in most grocery stores.

If this costs you more than $4.99, go punch the store manager in the face.

Washing Soda

This is another product most commonly used as a laundry additive. It acts as a water softener and degreaser, thus making it a common ingredient in many DIY cleaning solutions. It is most commonly sold by Arm & Hammer, and like Borax is found in the laundry isle in most large superstores (Wal-Mart carries it for sure). It is usually $3-$4 for a large box, but you can always make your own out of baking soda, if you prefer.


Essential Oils

The world of essential oils can get really overwhelming really quickly, so I'm going to keep the focus narrowed down to just the oils that serve this blog's purposes. Essential oil enthusiasts will claim that various oils can accomplish anything from providing relaxation to teaching your children to drive a stick shift, with varying degrees of accuracy. But to keep things practical, let's focus on just a few: citrus oils (lemon, orange and grapefruit), lavender, and tea tree (also called melaleuca). The common quality of all of these is their disinfecting and antibacterial properties. Added to various cleaners, they give some antiseptic power to the mix in addition to their strong scents. And since only a few drops are used at a time, a small bottle lasts quite a while. The price of oils varies a lot, and there's no single outlet that is best. Shop around online (Amazon has everything, but the price points are all over the map) and in local health and craft stores to get the best deal. There's no need to get all of the oils I mentioned, either. Start with the scent that you find most pleasing, and expand your inventory as needed. I personally think lemon and lavender make the best jumping off point, as their scents and abilities cover a wide range of uses (I use lemon for kitchen solutions and lavender for laundry solutions). Tea Tree oil is the best disinfectant, but it is also the strongest smelling of the bunch.


Soaps

I am aware that you probably own soap already. If not...that's disgusting and you should feel ashamed. But the soaps I want to mention here are probably not the ones you have: laundry bars and castile soaps. Laundry soap bars are...well, exactly what their name says they are. You can rub them on tough stains as a pretreatment, use them to hand-wash delicate laundry, or grate them and use as a powdered laundry detergent. They are super cheap and easy to get. I checked the stock at my local grocery store chain that has the highest regular prices, and the bars of laundry soap they had in stock were $0.99 and $1.65. And that was at the store that marks up the prices.

The picture doesn't do it justice, but the Zote bar is huge

The other kind of soap I want to call attention to is castile soap. Castile soap, like Borax, has almost innumerable uses. It is a very gentle cleanser, suitable for cleaning just about everything. You can actually brush your teeth with it, if you feel like it, as it's more effective and gentler on your teeth than normal toothpaste. By far the most popularly recognized brand of castile soap is Dr. Bronner's, aka "that expensive soap with the absolutely insane religious text all over it." And yes, Dr. Bronner's is pretty fantastic stuff, available in a variety of sizes, scents, and forms (liquid and solid). But you can also get a plain old bar of Kirk's castile soap for under $2 (Walgreen's has a 3-pack for $4) at most stores. Get whatever is your preference, but definitely pick some of this stuff up. It's the most versatile soap you'll ever use.

This outside of this bottle contains the most surreal novella you'll ever read.

Vinegar

I'm sure you know what vinegar is, and you may even have some in your kitchen. But my point here is this: you should be buying this stuff by the gallon. It makes a great glass cleaner, dissolves mineral deposits in your coffee machine, gives your dishwasher a spot-free rinse, gets that nasty smell out of old bath towels (without making them smell like vinegar), and can kill weeds. Per gallon it's cheaper than milk, is sold by the gallon in every grocery store, and has dozens of uses around the house.  So go buy a shitload of it.

Monday, August 18, 2014

Gak!

If you grew up in the 90's, you remember Nickelodeon's Gak! It was a slimey, jiggly, farty-sounding substance that kids would play with for 5-10 minutes before inevitably getting it stuck in the carpet or so full of pet hair that it lost all of its fun properties. Gak! sold for $3-$5 for a small container of the stuff, and had to be replaced often. It's technically still around, but its expense far outweighs its usefulness. Fortunately, if you have kids who would find fart slime amusing, it is really simple to make on your own.

What You Need:

  • 1/4 cup water
  • 1/4 cup PVA Glue*
  • 1 tsp. Borax + 1/8 cup of water

*The glue must be a polyvinyl acetate (PVA) glue in order for the recipe to work. Most standard white glues that you can find in the U.S. are PVA (Elmer's All-Purpose Glue is PVA, and available pretty much everywhere for under $2), as are nearly all basic wood glues.

Worked for me. Cost a buck.

Step 1:

Completely dissolve the Borax in 1/8 cup of water. If it is not completely dissolved, the end result will be gritty instead of slimey. Thoroughly mix the water and glue together with a spoon, then add the dissolved Borax and mix until it starts to thicken. The substance will still be wet to the touch

Step 2:

Knead the substance in your hands until it's a slimey consistency and all of the moisture has been absorbed. The end result is a non-Newtonian fluid. If you let it sit in your palm it will slowly flatten out and run through your fingers, but if you pull it quickly it will break apart.

Looks like something the Michelin Man secreted.

You can add color to it if you want, but it may stain your hands or whatever surfaces it touches, depending what you use to color it (here's a hint: food coloring will absolutely stain everything).

If not ruined within minutes, it can be stored in a refrigerated plastic container. To play with it in the future, just allow it to reach room temperature again, or knead it slowly until warmed up.

Thursday, August 14, 2014

Microwave Brownie Cake In A Mug

Ever wanted a brownie or some chocolate cake but were too lazy to bake some? Alternately, have you ever been really drunk at 3:00 a.m. and oh my God some chocolate cake sounds sooooo good right now but you're pretty sure your motor skills can't be trusted to crack eggs and/or work an oven in a safe manner?  Good news! I know a simple, easy way to whip up a single-serving portion of chocolate brownie cake* that requires only basic ingredients, a coffee cup and the microwave.

*: I've seen similar recipes that call the end result a brownie, and others that call it cake. I call it brownie cake because the result is a bit in between, like really dense, rich chocolate cake.

What You Need:

  • 2 tbsp. butter
  • 2 tbsp. warm water
  • Dash of salt
  • 1/4 tsp. vanilla
  • 2 tbsp. unsweetened cocoa powder
  • 4 tbsp. sugar
  • 4 tbsp. flour
  • A 12 oz. or larger coffee mug

Step 1:

Put the butter in the mug and melt in the microwave, about 30-40 seconds. Remove from microwave and add the water, salt and vanilla. Mix well.

Variation: for a richer chocolate taste, use brewed coffee instead of water or dissolve 1/2 tsp. of instant coffee in the water before adding it to the mug.

In case you are unfamiliar with what melted butter should look like.

Step 2:

Add the cocoa to the butter mix and mix well. Add the sugar and mix well. Add the flour, and mix well yet again.

If you're really impatient you can just go ahead and start eating it now.

Step 3:

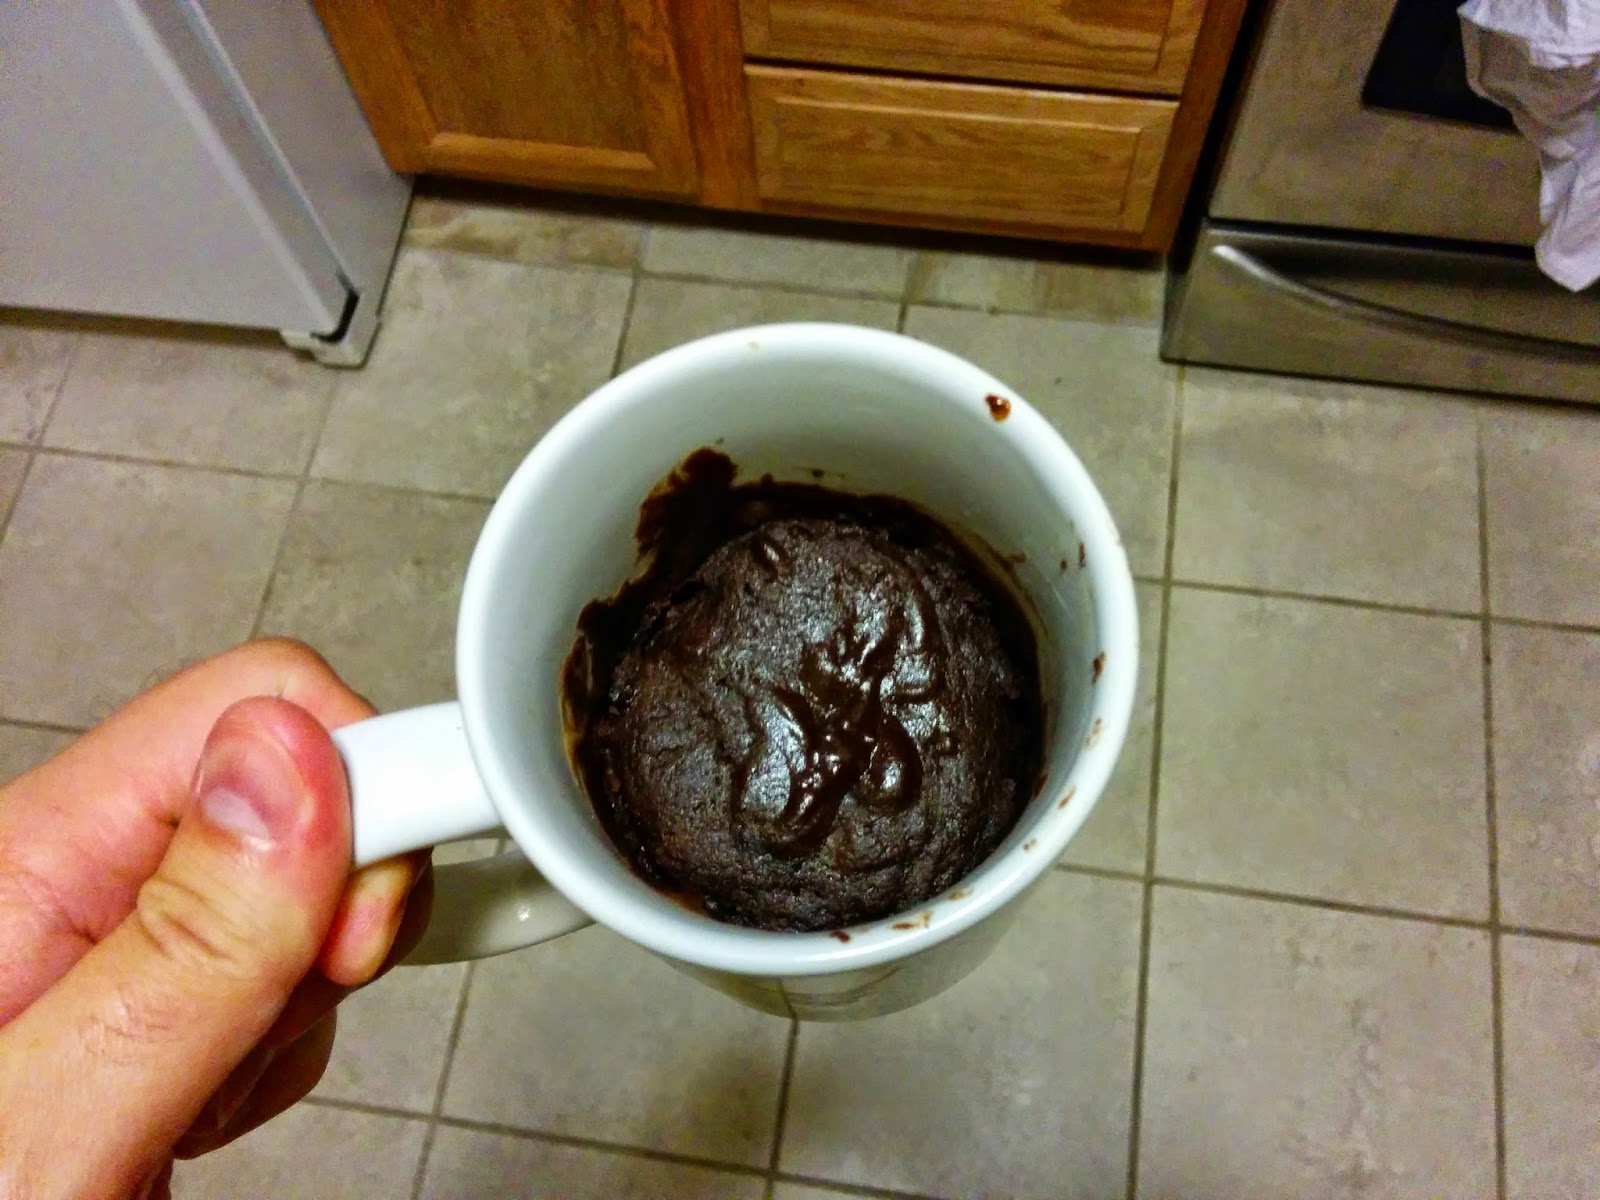
Put the mug back in the microwave and cook for 60 to 90 seconds. The top may still look like it's uncooked. This is normal. Allow to cool for a couple of minutes, as it tends to be boiling lava hot right out of the microwave.

Also, have fun cleaning the mug afterwards.

Throw some ice cream, frosting, or other desired topping on it if you'd like.

This post is sponsored by Type 2 Diabetes.